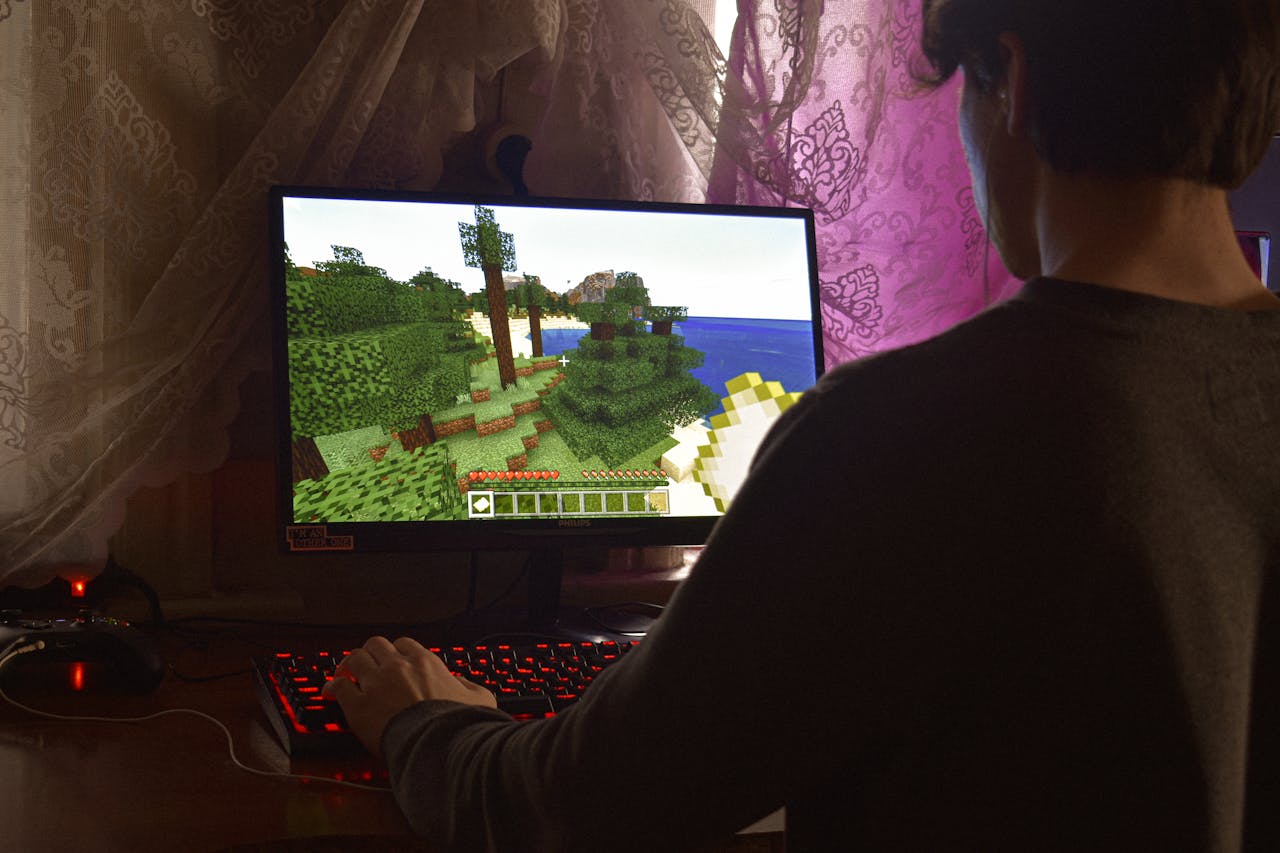
Creating your own Minecraft Bedrock server on Ubuntu offers you control over your multiplayer experience, allowing you to host games with friends, customize settings, and expand your Minecraft community. This guide covers everything you need to know about setting up and configuring a Minecraft Bedrock server on Ubuntu. Follow these steps to get started.

Step 1: Prepare Your System for a Minecraft Bedrock Server
Before setting up a Minecraft Bedrock server on Ubuntu, ensure your system meets the minimum requirements and is up-to-date. This helps ensure smooth gameplay and stable server performance.
- Update Ubuntu Packages
Begin by updating your system packages to ensure compatibility and enhance security:
sudo apt update && sudo apt upgrade -y- Install Required Dependencies
The Minecraft Bedrock server requireslibcurl4on Ubuntu. Install it by running:
sudo apt install libcurl4 -yThis prepares your system to successfully run the Minecraft server software.
Step 2: Download and Install the Minecraft Bedrock Server on Ubuntu
- Create a Dedicated Directory for Server Files
Set up a directory for your server files to keep everything organized. This example creates a folder in your home directory:
mkdir ~/mcbedrock && cd ~/mcbedrock- Download the Server Software
Visit the official Minecraft Bedrock server download page and copy the link to the latest server software for Ubuntu. Then, download it usingwget:
wget https://minecraft.azureedge.net/bin-linux/bedrock-server-<version>.zip- Extract the Downloaded Files
After downloading, extract the contents of the ZIP file:
   sudo apt install unzip -y
   unzip bedrock-server-<version>.zip
This will unpack all the necessary files into your chosen directory.
Step 3: Minecraft Bedrock Server Settings
- Edit the
server.propertiesFile
Customize your server settings by editing theserver.propertiesfile. Open it using a text editor like nano:
nano server.properties- Adjust Key Settings
gamemode– Choose betweensurvival,creative, oradventurefor the game mode.difficulty– Set the difficulty level (peaceful,easy,normal, orhard).max-players– Define the maximum number of players allowed on the server.server-name– Assign a name for your server to distinguish it.
- Save Changes
PressCtrl + X, thenY, and pressEnterto save and exit the editor.
Step 4: Configure Port Forwarding for External Access
If you want others to join your server from outside your local network, you’ll need to set up port forwarding on your router.
- Access Your Router Settings
Open your router settings by entering its IP address in a browser (typically something like192.168.1.1). - Find Port Forwarding Settings
Look for “Port Forwarding” under Advanced Settings. - Add a New Port Forwarding Rule
- Port Range: 19132 (default for Minecraft Bedrock)
- Protocol: UDP
- Local IP: Your server’s IP address (find it by running
hostname -Iin the terminal)
Step 5: Create a Script to Start the Minecraft Bedrock Server
To simplify launching your server, create a script:
- Create the Start Script
Open a new file namedstart_server.sh:
nano start_server.sh- Enter the Script Code
Add the following lines to the file:
   #!/bin/bash
LD_LIBRARY_PATH=. ./bedrock_server- Save and Make the Script Executable
Exit and save changes (Ctrl + X, thenY, and Enter), then make the script executable:
chmod +x start_server.shStep 6: Start and Access the Minecraft Bedrock Server on Ubuntu
- Start Your Server
Launch the server by running the start script:
./start_server.sh- Connecting to Your Server
- On the Same Machine: Open Minecraft, go to Play > Servers > Add Server, and use “localhost” as the IP address.
- On the Same Network: Use the server’s local IP address (e.g.,
192.168.1.X). - For Remote Access: Use your public IP address if you’ve configured port forwarding.
Step 7: Automate Server Startup with systemd (Optional)
To automatically start your server with your system, set up a systemd service:
- Create a Service File
Open a new service file with:
sudo nano /etc/systemd/system/mcbedrock.service- Add Configuration
Paste the following into the file:
   [Unit]
   Description=Minecraft Bedrock Server
   After=network.target

   [Service]
   WorkingDirectory=/home/yourusername/mcbedrock
   ExecStart=/home/yourusername/mcbedrock/start_server.sh
   User=yourusername
   Restart=always

   [Install]
   WantedBy=multi-user.target
Replace yourusername with your actual username.
- Enable and Start the Service
   sudo systemctl enable mcbedrock
sudo systemctl start mcbedrock- Verify Server Status
Check that the server is running:
sudo systemctl status mcbedrockConclusion
Congratulations! You’ve successfully set up a Minecraft Bedrock server on Ubuntu. This server setup allows you to enjoy endless possibilities in Minecraft, whether you’re exploring with friends or building an entire community. Enjoy the freedom and creativity of hosting your very own Minecraft world!
